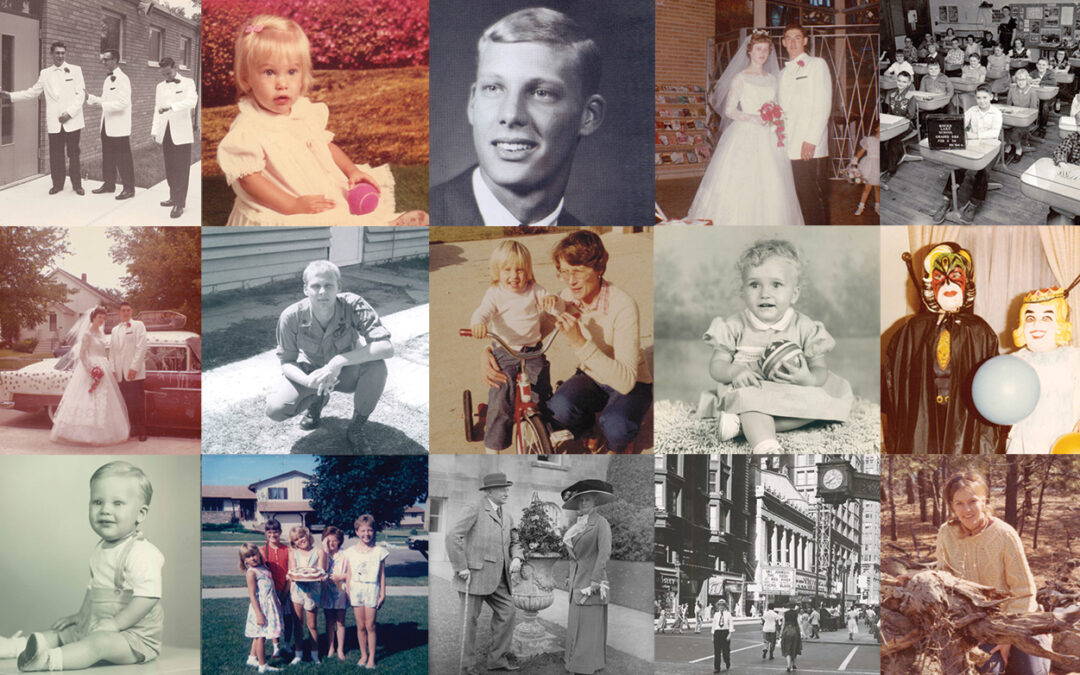

On January 9, 2018, a month after the massive Thomas Fire burned much of the area above Montecito and Carpinteria, California, and beyond, the South Coast’s first major winter storm hit. This caused widespread flooding, mudslides and debris flows in Montecito that devastated everything in their path. Homes, personal possessions and precious lives were lost. In the aftermath, we began receiving calls for help from people whose photo collections had been damaged. Many photos traveled as far as the beach where recovery workers collected them and posted images online so they could hopefully be returned to their owners.
While we don’t have the resources to offer photo cleaning services at our lab, we wanted to be able to help. It turned out that our partners at Fujifilm did an incredible amount of research on this subject after the 2011 earthquake and tsunami in Japan. Similar to our situation, Fujifilm Corp. in Tokyo began receiving desperate phone calls from survivors in the Tohoku region several days after the disaster who wanted to know how to clean photos covered with mud and seawater. Fujifilm stepped up to the plate and tried more than 60 tests to arrive at their recommended step-by-step instructions.
We are very thankful to Fujifilm, who manufactures all of our photo paper, for their amazing amount of work to arrive at these processes. Interestingly, Santa Barbara has a sister city in Toba, Japan that faced great destruction in this 2011 earthquake. At that time, our Santa Barbara-Toba Sister City Organization raised more than $30,000 to help with their relief. I love the way hearts are connected, even around the globe.
The following step-by-step series explains how anyone can use time, patience and simple supplies to clean photo prints, negatives and even entire albums of photos that are stuck together. No special experience with cleaning photos is needed. It’s really a labor of love, and well worth the effort to preserve precious memories.
SILVER HALIDE PHOTOS
Cleaning water-damaged photos
For photo prints damaged due to immersion in water, mud, sand.
1. If a photo print is completely or mostly dry, first lightly remove any mud on the surface using a soft brush. If you do not have a brush or if the photo print is only partially dry (or wet), proceed directly to Step 2. Be sure to wear thin rubber gloves. We recommend the use of medical gloves or gloves used for handling food.
2. Pass the photo print through room temperature water (approximately 68-86°F) to remove large pieces of dirt. Do not forcibly scratch the photo as the surface can become damaged.
3. Next, soak the photo print in clean, room temperature water.
4. While submerged, gently use the tip of your finger or a soft brush to wipe the surface of the print to delicately remove any mud or sand. Be sure to start at the outside corners and move toward the center, where the subject of the photo is located, as you clean while watching how the condition changes. Do not forget to wipe dirt off the back of the print. (A painting brush can remove dirt more efficiently than your finger when cleaning the back.)
5. If part of the image surface of the print easily turns red, yellow or white during these procedures, this indicates that the image is significantly damaged and should not be touched further. When the image surface is seriously damaged, it feels slippery to touch even when wearing thin rubber gloves. Such print image surfaces should only be lightly rinsed in water.
6. Once cleaning is finished, rinse in clean cool water and leave to dry in the shade or in a dark place where dust will not settle on the photo. It is fine to spread photos out on newspaper, etc. or hang them to dry using clothes pins. Rapid drying using hair dryers, etc. is not recommended as it may cause the photo print to curl up.
Cleaning photos stuck together
For photo prints that have been immersed in water, dirt, sand and stuck together, or album pages which are stuck together and cannot be opened.
Follow the steps below without forcibly trying to peel them apart.
1. First remove any dirt, mud or sand on the surface using a soft bush. If you do not have a brush or if the photo prints are wet, proceed to Step 2. Be sure to wear thin rubber gloves. We recommend the use of medical gloves or gloves used for handling food.
2. Next, soak the lightly cleaned photo prints or album in clean room temperature (68-86°F) water.
3.Take care not to damage the photo image on the surface, and slowly and gently peel away the overlapping photo prints in order, from top to bottom. In the case of an album, the surfaces of photo prints may be facing each other, so the album backing paper, etc. should be slowly and gently peeled away after being sufficiently soaked in water.
4. It is important to let water gradually seep into the spaces between parts stuck together, and take your time peeling them away. Be prepared to sacrifice the album to save the prints inside. If it does not peel away, do not forcibly try to do so. Soak for a little longer in water and wait for the edges to naturally peel apart slowly. Please be patient as this may take from 30 minutes to an hour if the pages are stuck together badly.
5. Once you have peeled away the photo prints, rinse in clean, cool water and leave to dry in the shade or in a dark place where dust will not settle on the photos. It is fine to spread photos out on newspaper, etc. or hang them to dry using clothes pins. Rapid drying using hair dryers, etc. is not recommended as it may cause the photo print to curl up.
Cleaning water-damaged photos in albums
For entire albums of photo prints damaged due to immersion in water, mud, sand.
1. Pocket albums and albums with adhesive plastic sheets do not have a path for water to escape, so photo prints may remain wet for a long period of time. In such cases, the image surface of the photo print may be red, yellow or whiter due to damage. In particular, if the image appears as though colors have dissolved, the image may be washed away simply by immersion in water. We recommend that you sponge dirt off the plastic sheet and take a photo of the image with a digital camera or scan it before cleaning.
For other types of albums, we recommend that you perform cleaning after drying the album.
2. First remove any dirt, mud or sand using a soft brush.
3. Next, soak the lightly cleaned album in clean room temperature (68-86°F) water. Be sure to wear thin rubber gloves.
To make cleaning easier, it may be convenient to cut or disassemble album pages before soaking them in water. If you would like to keep the album in its original form, you will need a container large enough to soak the whole album.
4. Take care not to damage the photo image on the surface, and slowly and gently peel each photo away from the plastic cover or album backing paper. Lightly rinse the photo prints you have removed in water.
If the photo prints are not dry, you should be able to remove any attached dirt simply by rinsing. In images with particularly serious damage, part of the image may be lost simply by peeling away the plastic layer. In such cases, only remove the print and do not touch the image surface more than necessary or rinse too forcefully.
5. Once you have peeled away the photo prints, rinse in clean, cool water and leave to dry in the shade or in a dark place where dust will not settle on the photos. It is fine to spread photos out on newspaper, etc. or hang them to dry using clothes pins. Rapid drying using hair dryers, etc. is not recommended as it may cause the photo print to curl up.
Cleaning water-damaged negatives
For color negative film damaged due to immersion in water, mud, sand.
1. In case developed negative film is stored in a translucent plastic film folder, and if there is little damage to negative film inside, you can easily create photo prints again.
2. If each negative film is completely dry, lightly remove any mud on the surface using a soft brush. If you do not have a brush or if the film is only partially dry (or wet), proceed directly to Step 3. Be sure to wear thin rubber gloves.
* The film folders are narrow bags, and as there is no path for water to escape, the negative film inside is expected to remain wet for a long period of time. You need to first remove (or peel) the negative film from the film folder. Work can be performed more efficiently by cutting each plastic film folder containing the film with scissors and soaking them in water.
3. Pass the film or plastic film folder containing the film through room temperature (20-30°C, 68-86°F) water to remove large sections of dirt. Do not forcibly scratch the photo as the surface will be damaged.
4. Next, soak the film or film folder containing the film in clean, room temperature water.
5. Hold both sides with perforations to ensure you do not damage the film surface, and gently shake the film in the water to clean it. If the negative film is stuck to the film folder, let it soak until it peels away naturally, and be sure not to forcibly peel it away.
6. In such cases, if part of the film’s image surface or border is clear and disappeared (transparent), this indicates serious damage to the image section. If you are able to peel it from the film folder, lightly rinse it while holding the edges and be sure not to touch the film surface.
7. Once cleaning is finished, rinse in clean cool water and leave to dry in the shade or in a dark place where dust will not settle on the photo. Use the perforations on each side of the film to pass through bent paperclips, etc. to hang the film to dry, or use clothes pins or paperclips to hold the edges to hang the film to dry. Rapid drying using hair dryers, etc. is not recommended as it may cause the film to curl up.
* These instructions are not for inkjet photos.
** Cleaning procedures for Silver Halide Photos from Fujifilm at http://www.fujifilm.com/support/photo_cleaning/